What is compost? It is decomposed organic matter. It is a soil amendment and an organic fertilizer.
How do I compost? There are a couple different ways you can make compost.
Hot composting- Uses precise layering of “browns” and “greens” to create microbe activity that heat up the compost and decomposes quickly, within 3-6 weeks. Usually needs a big pile, at least 3 ft wide.
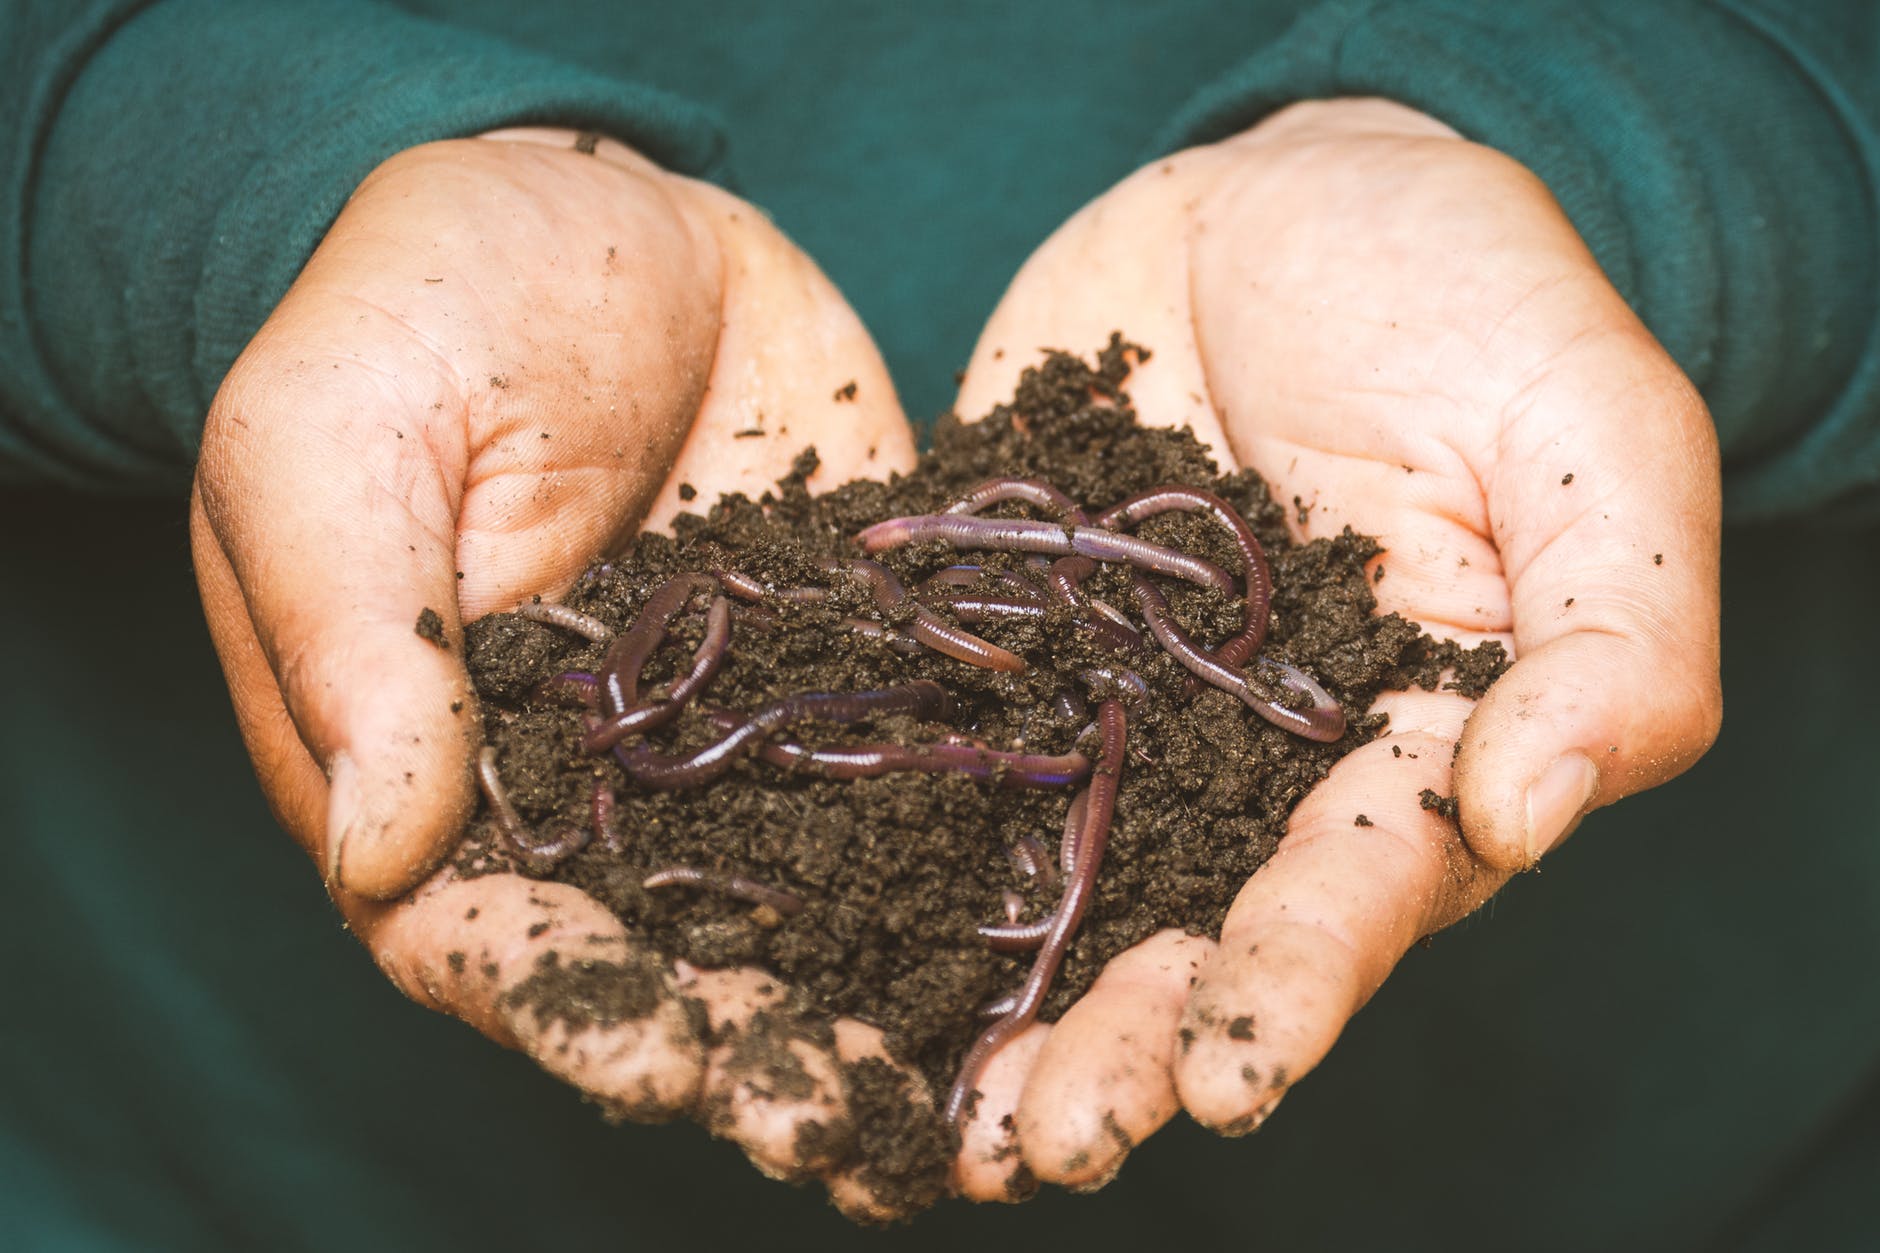
Worm composting (Vermiculture)- Uses worms to feed on the organic matter, producing worm castings (which is basically gold for soil). Great for kitchen scraps.
Natural, slow composting- Still uses the “brown” and “green” ratios but it built up over time, and decomposes over a longer period of time.
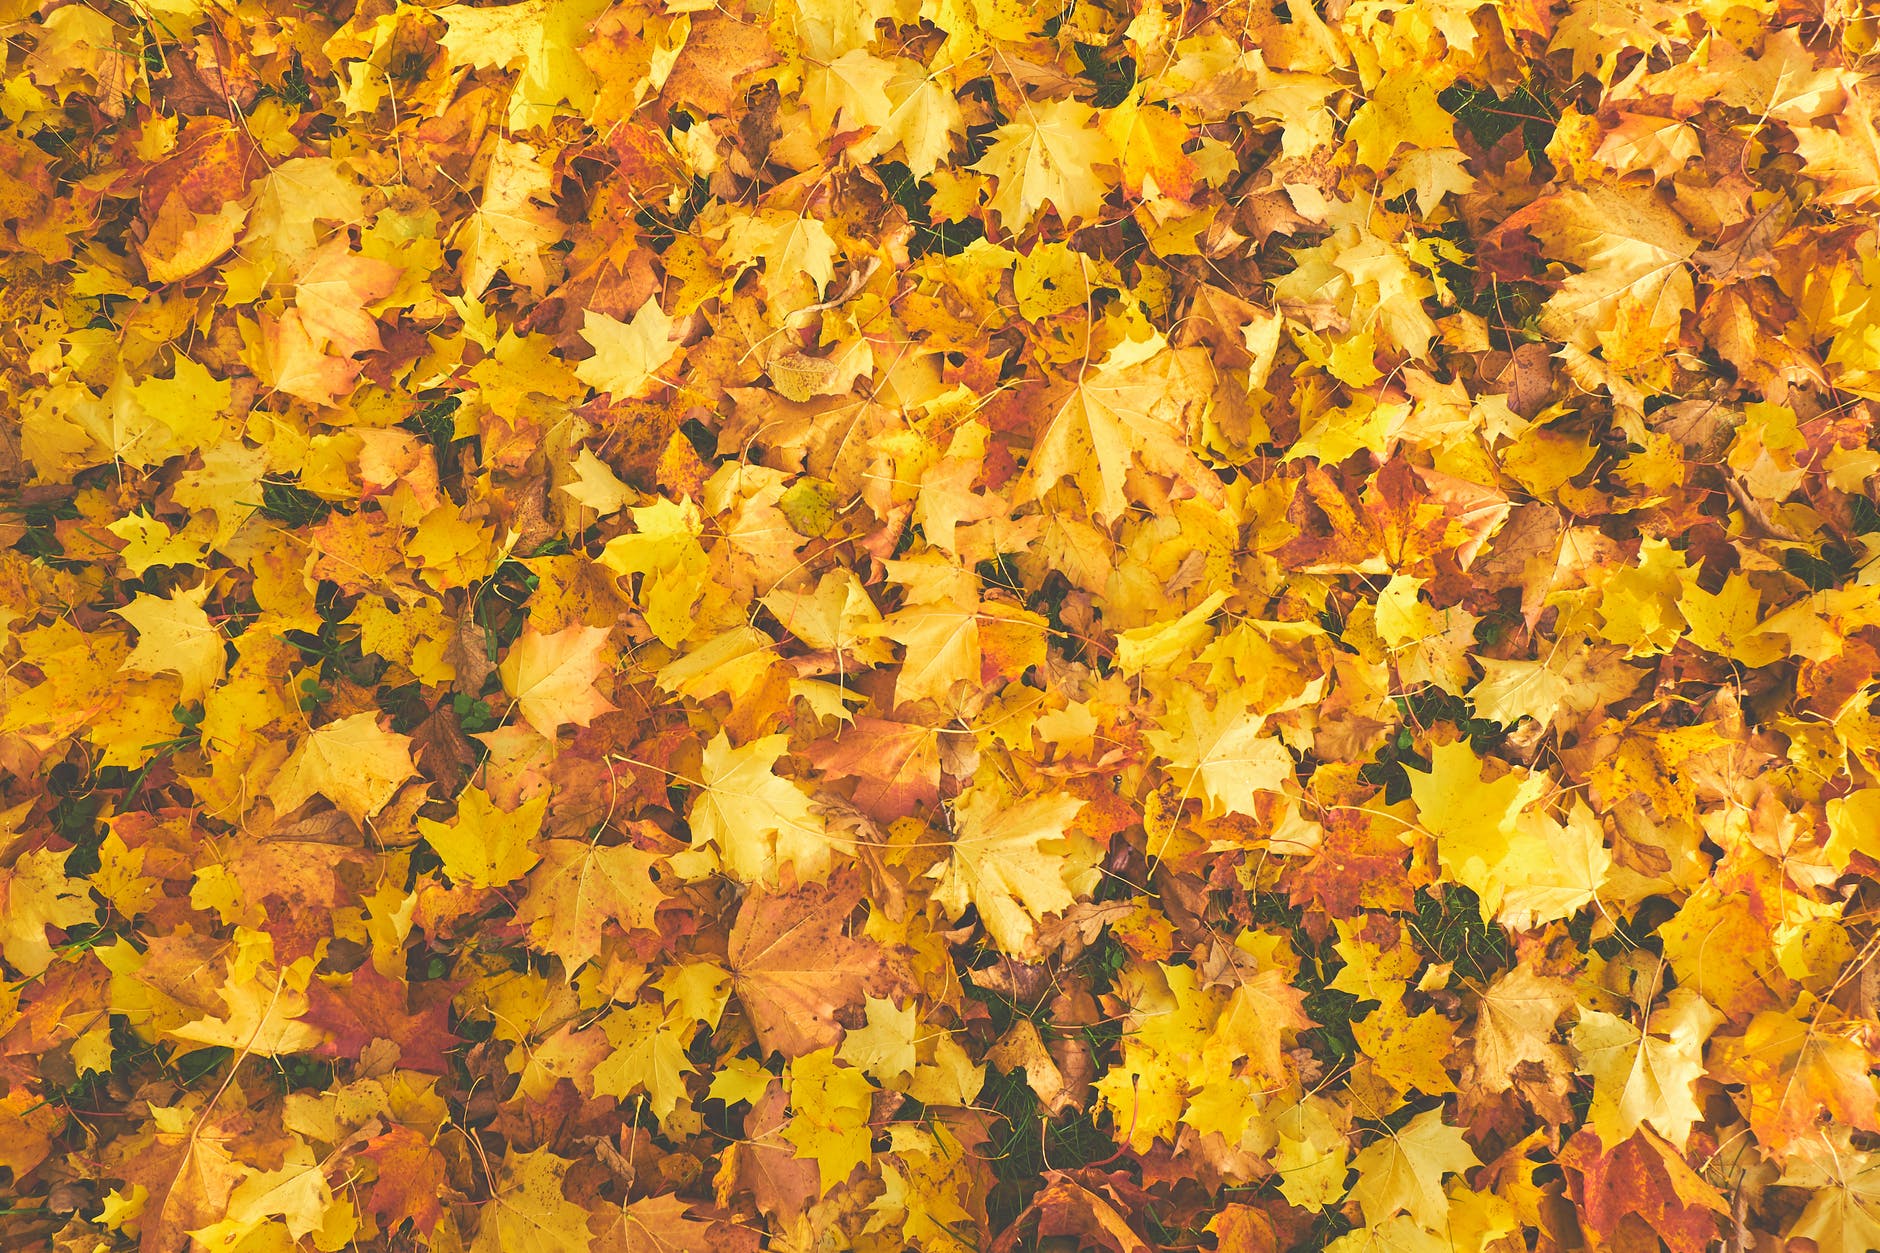
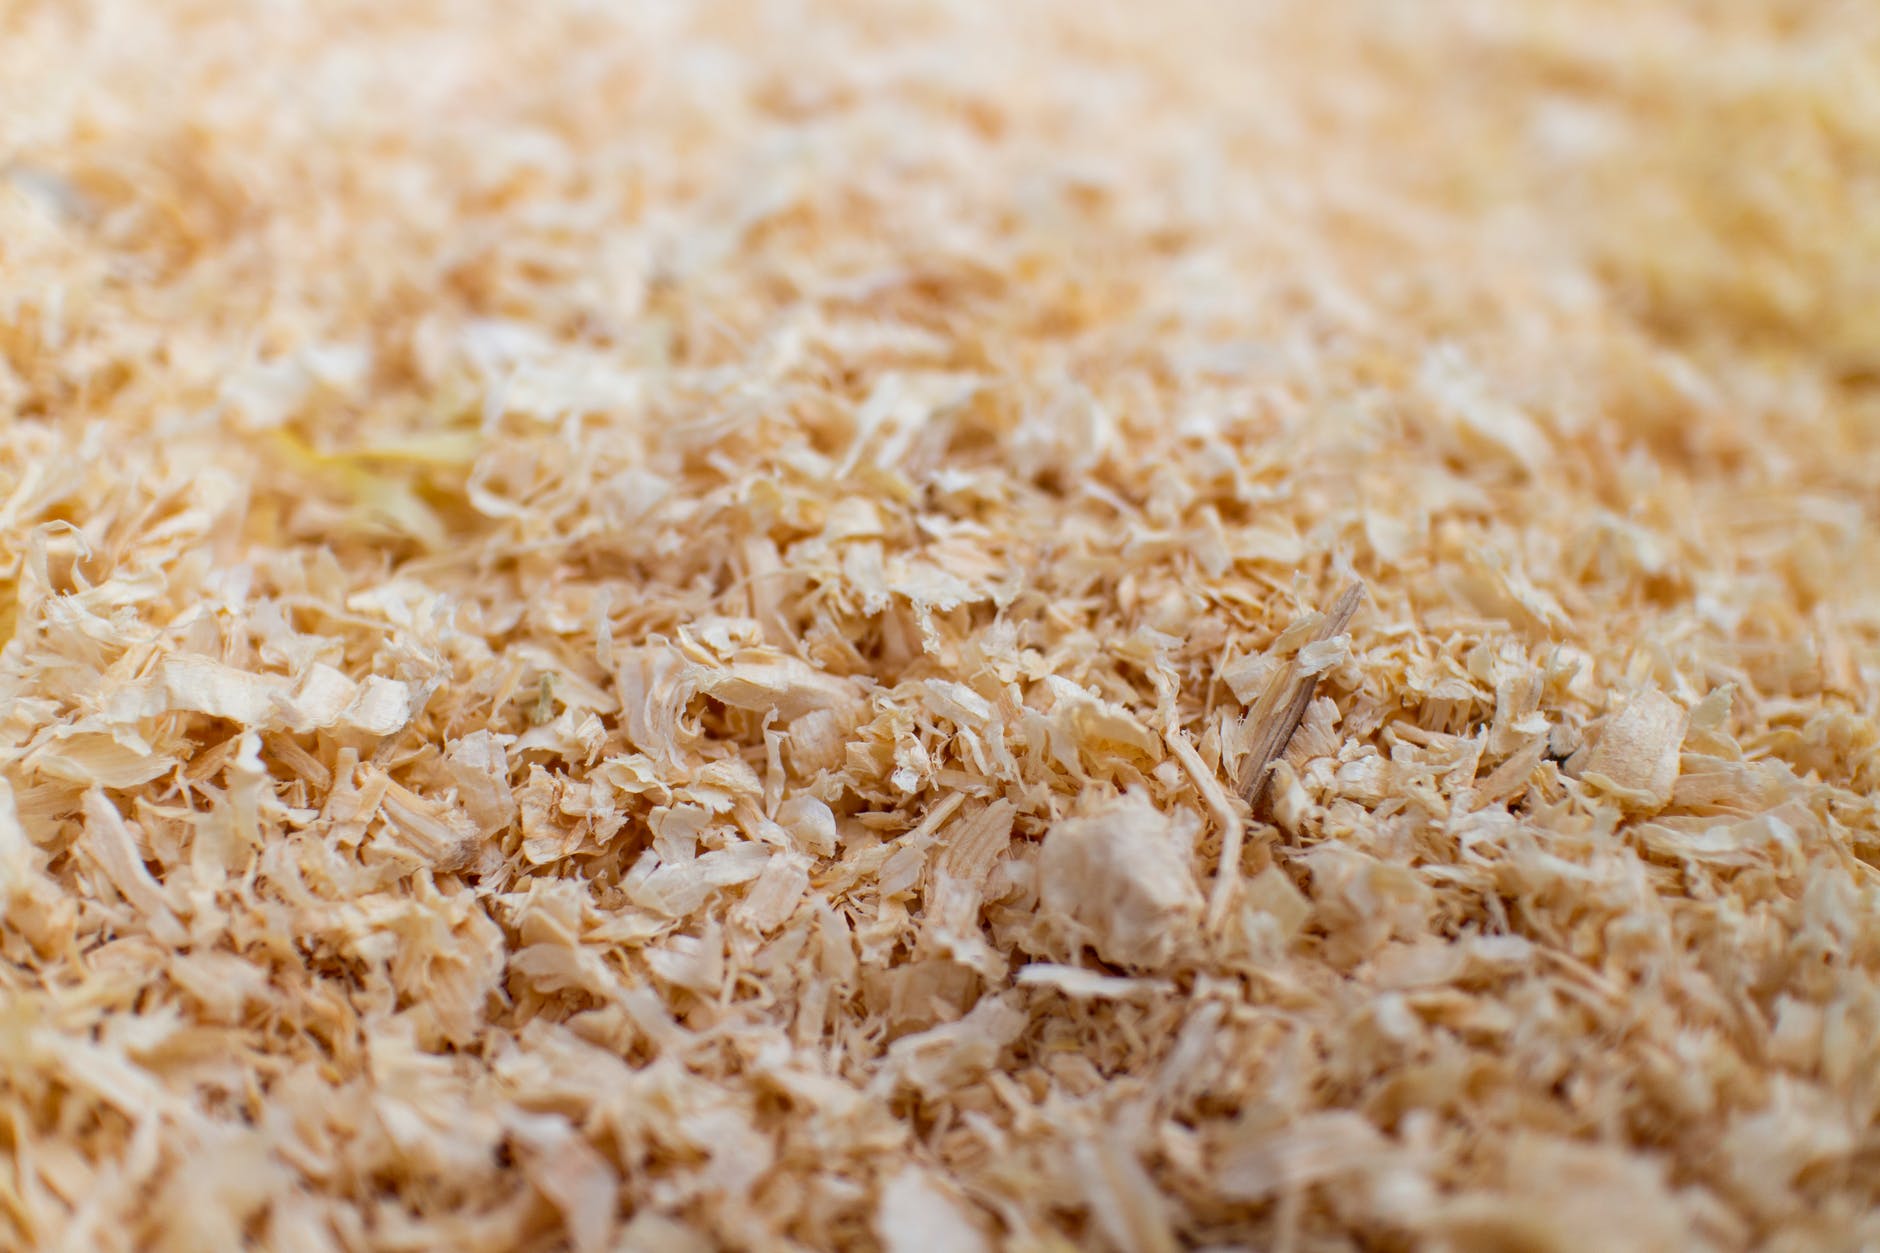
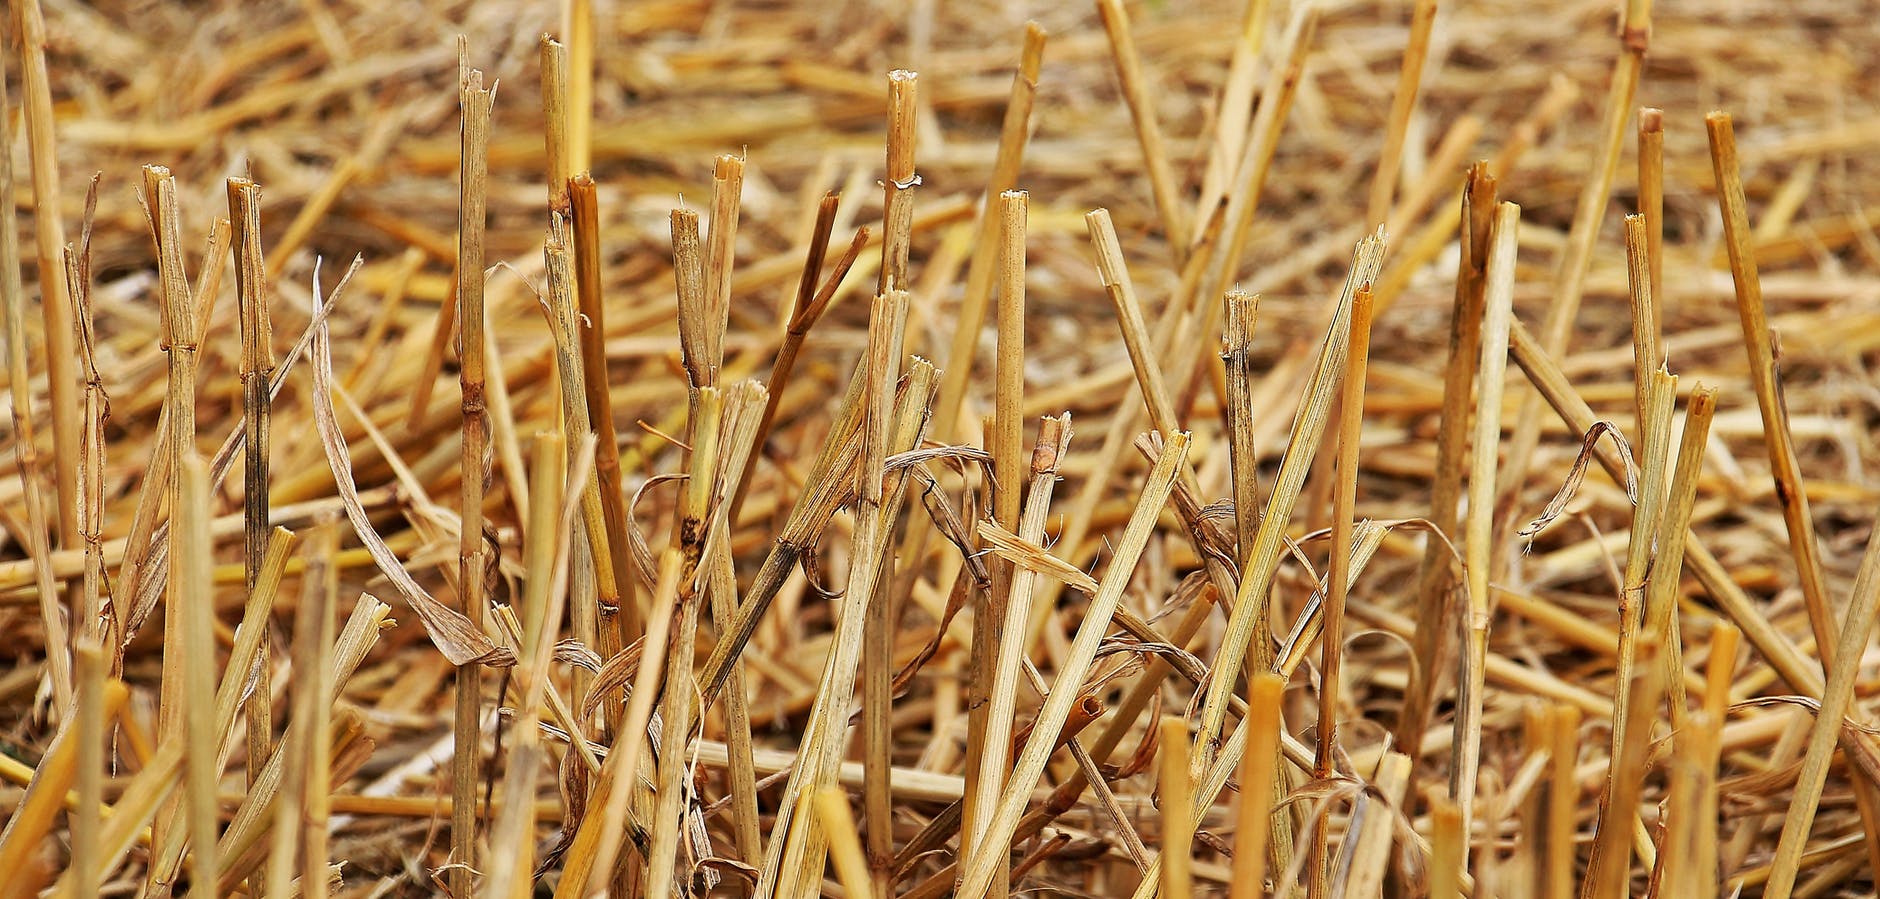
What are the “browns” and “greens”? BROWNS- Anything that is rich in CARBON such as:- Dried leaves- Saw dust- Wood chips- Straw- Cardboard- Newspaper…etc.
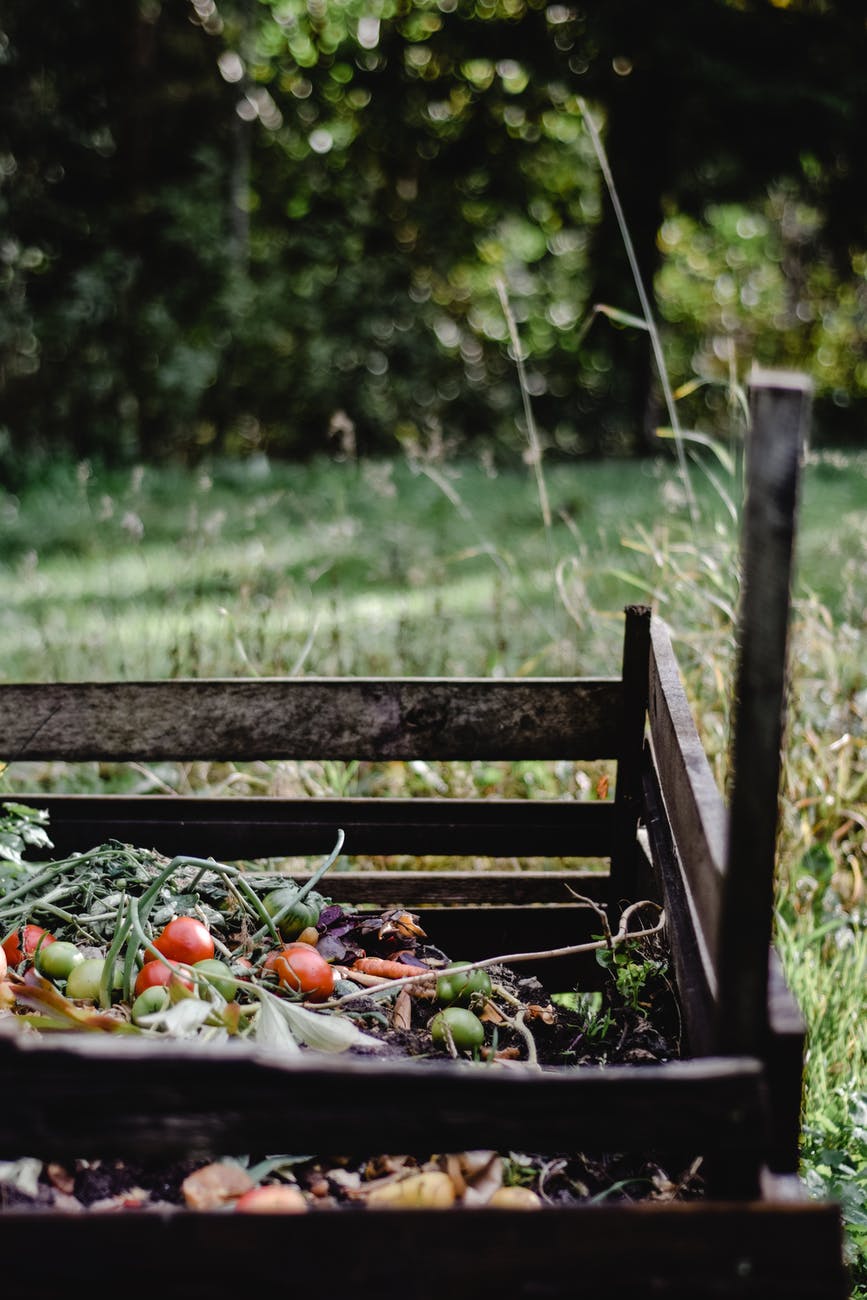
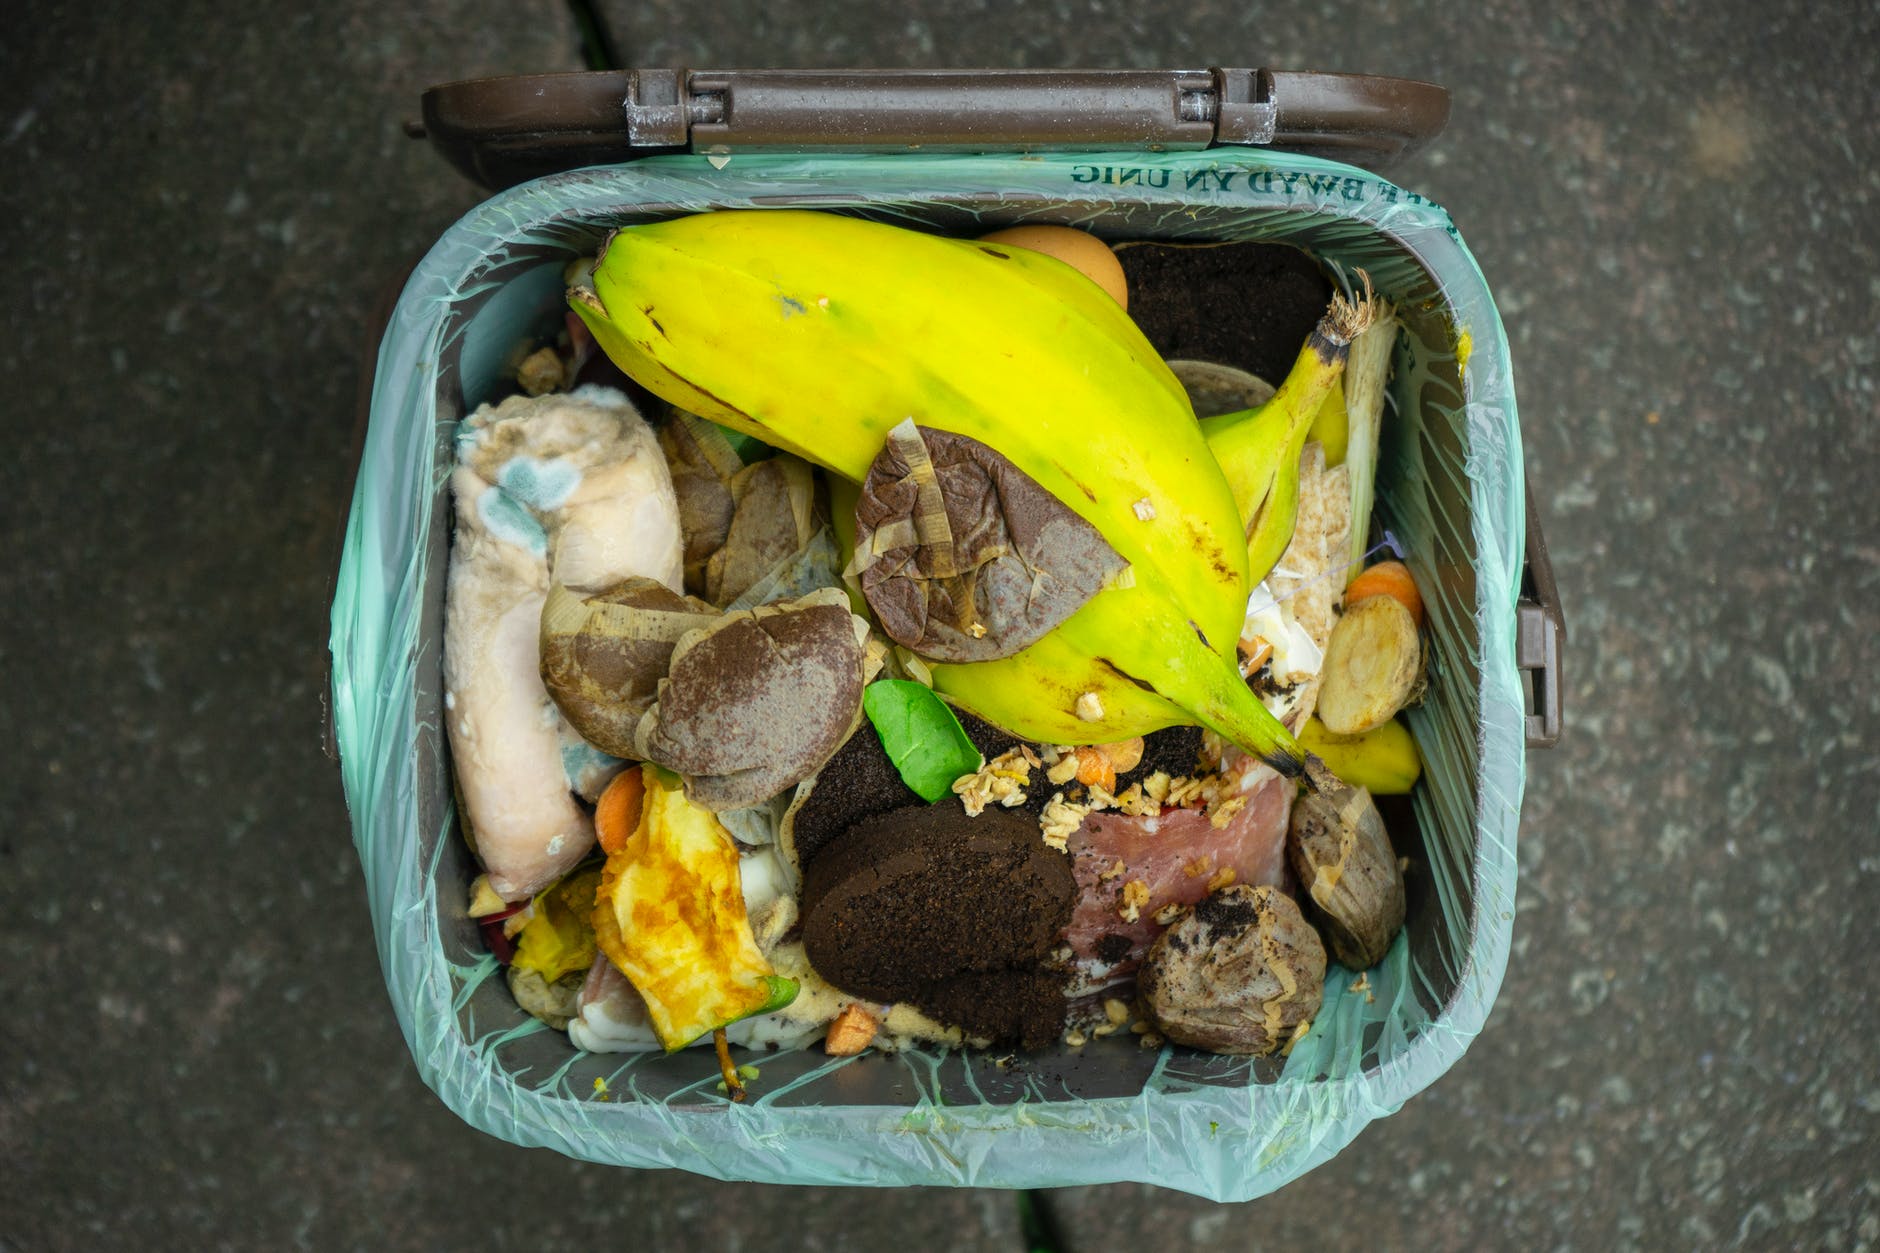
What should you NOT put in our compost bins? – DO NOT put any meat or dairy (egg shells are OK)
– DO NOT put cooked food (risk of rodents)
– DO NOT put any citrus fruits (natural anti-bacterial properties)
– DO NOT put and plastics or coated material such as magazines.
– DO NOT put cat, dog, or human poop.
How much of the “browns” and the “greens” do I put? The rule of thumb is to use a 3 part “brown” to 1 part “green”. But don’t worry about getting too crazy with exact measurements. The idea here is that you want to add some carbon every time you throw in some nitrogen. That is the formula for decomposition to occur.
If you do not add enough of the “browns” you will know because it will start to smell rancid. That isn’t good. To fix this, just add more “browns.”
*YOUR COMPOST SHOULD NEVER SMELL AWFUL!*
If you do not add enough “greens” not much decomposition will occur. So if you notice not much is happening, add in some more Nitrogen.
The goal is balance, much like everything else in life!
Starting a garden can be fun, simple and a fantastic creative venture. There are so many benefits to growing a garden, and so many different types of gardens you could create. Even if you don’t have a yard, you could still start a potted garden on your porch or patio. Possibilities are endless when it comes to growing some plants. And in this post, I am going to share with you a simple approach to getting started today.
Before you begin, figure out your “WHY.”
Before starting anything, it is really important to think about why it is you want to do it. What are your goals? What do you want to get out of this? Do you just want to beautify your space? Do you want to create more of a space to connect back to nature? Do you want to grow some food to alleviate some of the grocery bill? Do you want to be more self sufficient? Do you want to help support the much needed pollinator insect population? Do you want better rain water infiltration in your yard?
There are so many reasons why someone may want to start a garden, so give some thought to yours. Once you do that, then you will be in a better position to start planning the garden. You will have a better idea as to what plants you will choose, where you will design the garden…etc.
12 steps to starting your own garden:
Evaluate the space and environment. Before you start designing, it is important to really survey the space and find the best location for your garden. Where do you get the most sunlight? Where do you see weeds and grass growing really well already? Do you need to utilize potted plants instead? What is your water situation like? Put some thought into the space you are working with before you begin.
Create a strong, solid foundation. Healthy soil is the cornerstone for healthy, nutritious plants and crops. Before you begin designing or planting anything, it is crucial that you check out the condition of the soil that you currently have. Some simple things you can do to check to see if your soil is in good condition are the squeeze test, the percolation test and the worm test. For the squeeze test, all you have to do is dig up a bit of soil in the area you think you will be preparing the garden in, add a bit of water, then squeeze a handful in your hand. Once you release your grip, does the soil fall apart? does it hold its shape? Or is it something in between? If its something in between, then you are in great shape. For the percolation test, you simply just need to dig a fairly deep hole in the ground where you plan to start your garden and then pour a bunch of water into it. If the water gets absorbed into the soil fairly quickly, then it may be sandy. If it sits there for many, many hours, then it may have too much clay. If it disappears within less than an hour, then you are in great shape. And finally, the worm test is the easiest of them all. Just dig around in the area you have selected and see if you find any earthworms! If you find a bunch, then you are in GREAT shape. If you don’t find any, then you will need to build up your soil. (If you are doing a potted garden, then you don’t need to worry about this step since you will be using soil bought from a store)
Prepare the soil and make amendments if needed. Normally I am an advocate for the “no-dig” method of gardening, but you can till up the grass and the soil when first installing your garden and it will actually increase the fertility as well. Over time, though, I recommend continually building up the soil and minimizing the disturbance of soil life. If your soil has too much clay content, or is too sandy, or doesn’t have many worms, then you may want to make amendments to it before putting plants in the ground. The best way to increase fertility and organic matter (which helps bring in worms and increases water holding capacity) is to add compost. You can buy a few bags from your local nursery or greenhouse, or even start composting at home to minimize your trash and make the most out of your food scraps and plant waste. If you want to go all out, you could do a pH test as well and see if you need to increase or decrease your soil pH.
Make a list of the plants you want in your garden, and do a bit of research on them. One of the best things I’ve learned about gardening is that the more knowledge I have on the plants I am caring for, the better I can care for them. In general, most plants need three basic things in order to thrive: sunlight, water, and healthy soil. But there are some nuances to consider for some specific plants. For example, cranberry and blueberry plants do best in slightly acidic soils. Also, some plants thrive in cooler, less sunny environments such as the brassicas, ferns and hostas. And you also will know crucial information like how big the plants can get, how much space they need to grow, and how long they take to mature.
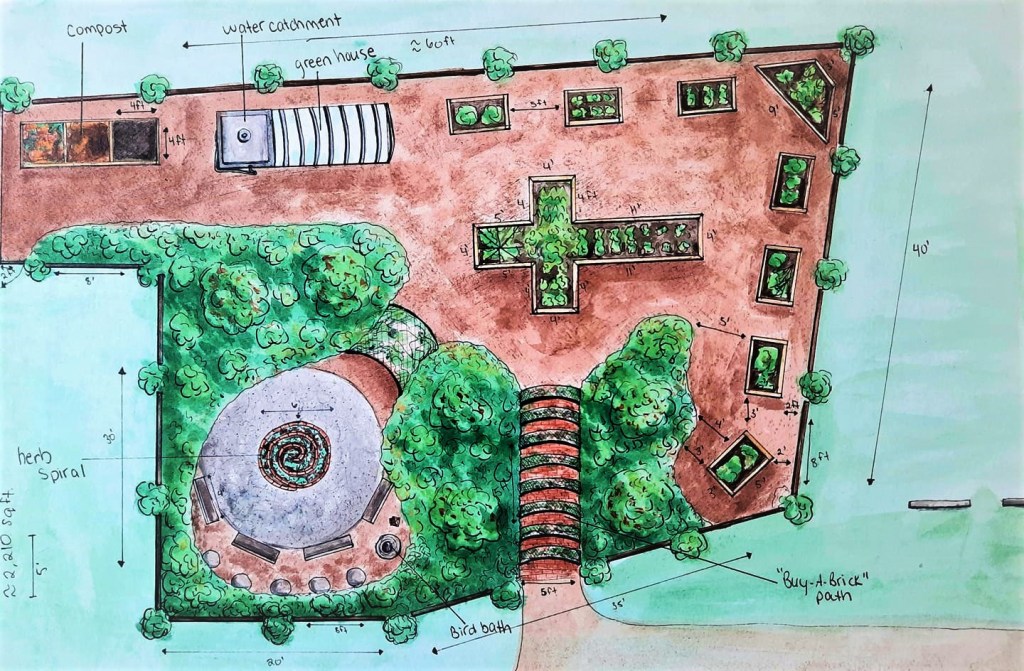
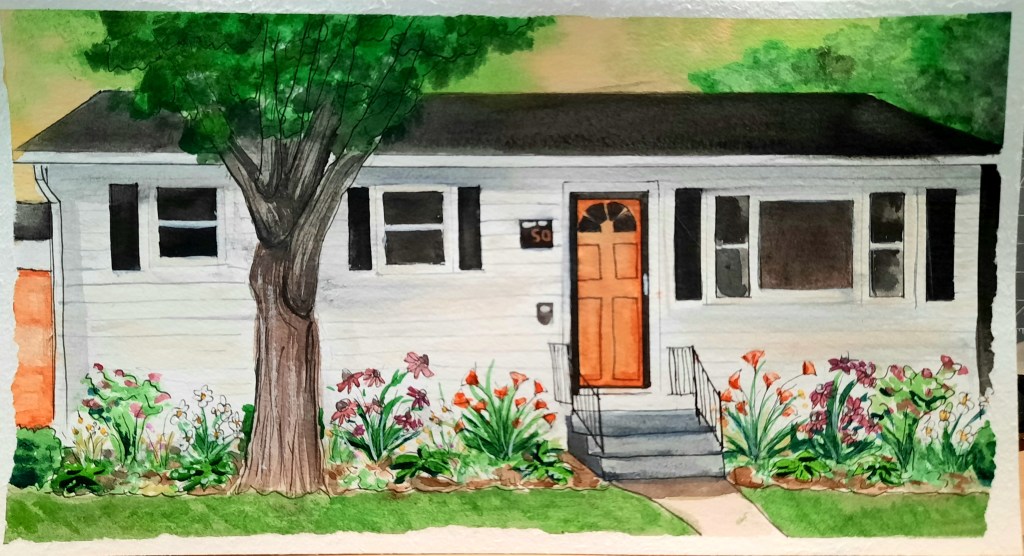
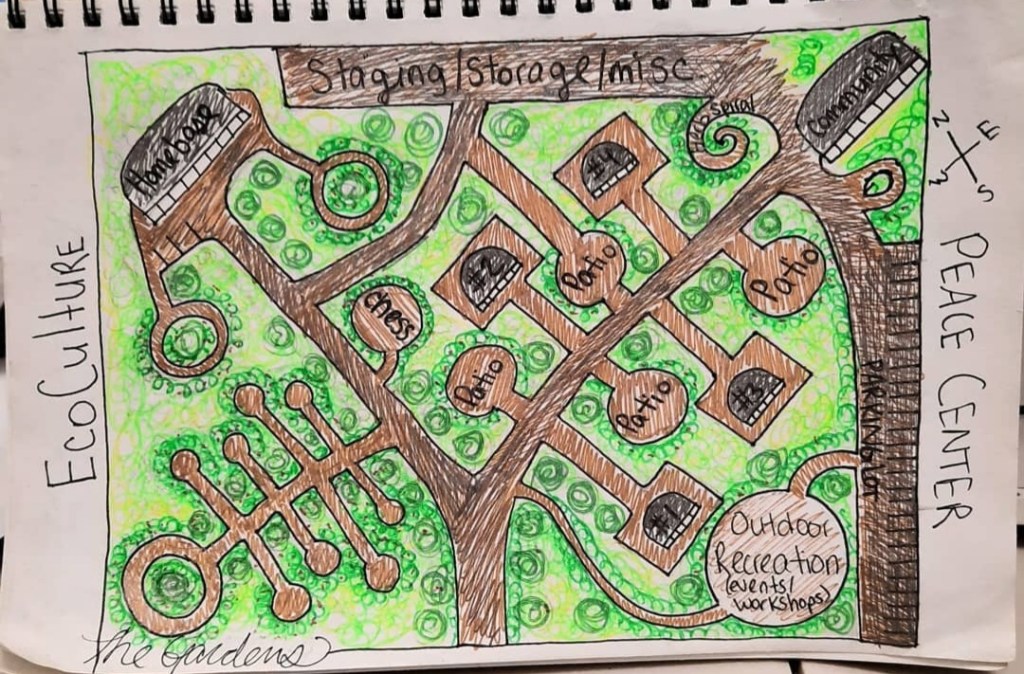
Design your garden on paper. You don’t need to be a brilliant artist to draw out your design. It’s just a practical way to plan everything out and really know where and how you want everything. Here are some examples of my drawings (be aware that I have a background in art and design):
Seeds of Hope Community Garden. Conquerors for Christ Church. North Dartmouth, MAFront yard garden vision for a friend of mine.Vision for the Ecoculture Movement. A Peace Center for the community.Concept for my Earthship Homestead within the Ecoculture Peace Center
Your design can be as detailed as you want, or as simple as you want. It doesn’t have to be perfectly to scale, so long as you have a rough idea as to how much space you will have for everything. If you would like some help designing your garden, please feel free to sign up for a consultation!
6. Make sure you have all the tools you need to make the process easier. Work smarter, not harder. Gardening doesn’t have to be back breaking. With the proper tools, you and your back will be in some pretty good shape. Here are some of the tools that will make your gardening journey a heck of a lot easier:
A action weed hoe is a must! The long handle and the functional design makes weeding SO much easier, efficient and less strenuous.
Get a few different types of rakes.These rakes are great for spreading the soil or mulch around. These adjustable rakes are great for collecting the weeds you pulled up with the hoe. This rake is great for leaves and other plant debris on your lawn. And finally, you could also get this ergonomically designed pick-up rake.
Of course, you will also need some spades and shovels. This shovel is great for digging the larger holes. For smaller holes you can use a trowel like this one. Another great multi-use cultivator tool would be this hand tool.
Gardening gloves would also be a great investment. They will protect your hands from thorns, insects, getting your hands dirty and much more.
A wheel barrow or wagon to transport supplies, plants, soil or mulch to and from the garden.
A hand held cultivator can be used to till the area when first installing your garden.
An edger can be used to help you clearly distinguish where the garden begins and the lawn ends.
And finally, a set of pruners and shearswill come in handy when it comes time to maintian your beautiful garden.
7. Now that you have found the perfect location for your garden, you have evaluated and amended your soil, you have figured out what plants you will be growing and learned how to care for them, designed your garden, and have your tools ready to go, it’s time to start getting dirty and install your garden. I would first use an edger to line out the exact perimeter of the garden and make clean cuts along the lawn. Gives it a cleaner look as well. I also recommend shopping at your local nursery or greenhouse to purchase your plants, as it supports your local community and economy.
You can start them from seed as well, but it does take a lot more effort and time on your end. If you want to start them from seeds, I would give yourself about 2 months in advance before beginning the installation so they have time to grow in some pots and mature before going into the ground. (and be sure to check the seed packets to know proper germination requirements and how long they will take to mature.) BUT, if you buy your plants from a nursery, then all of that work has already been done for you!
8. Before you start digging holes, I would lay out all the plants in the spots you planned to get a really good visual of the garden. You still have the freedom to move things around and change things up if you so choose. Once you are 100% satisfied with the placements, then gear up and let the shoveling commence.
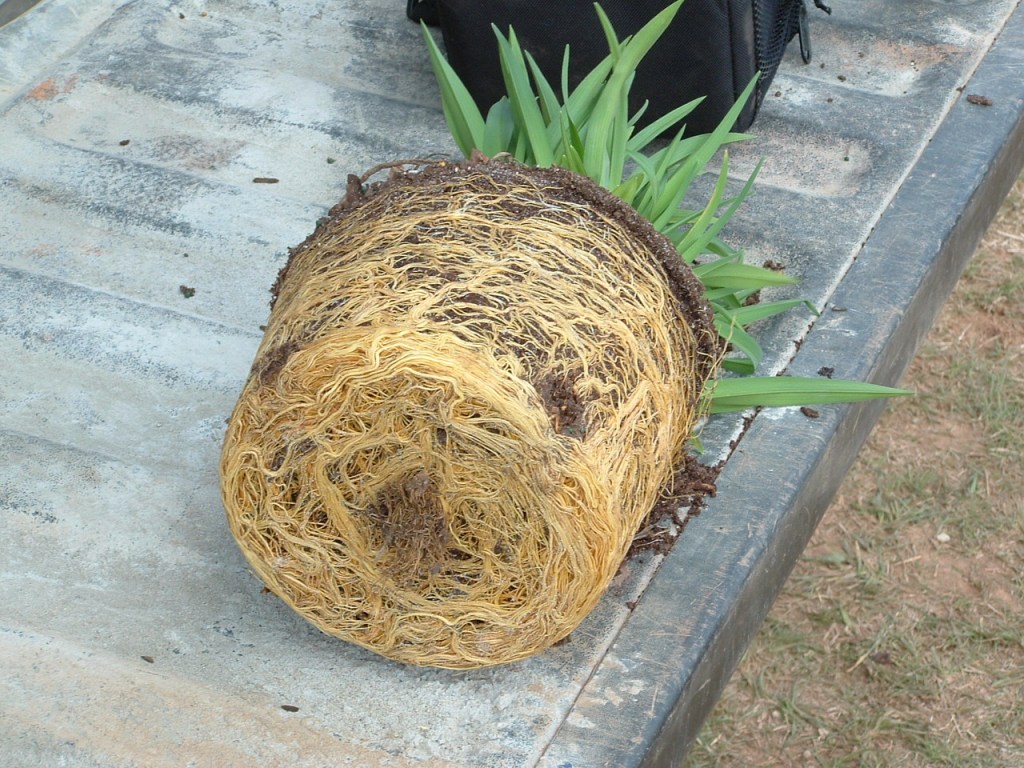
9. When you are taking your plants out of the pots and into the hole in the ground, be sure to check the roots. If they look “pot-bound” like this:
Be sure to break apart the roots on the bottom and on the sides. If they are really tough, you can even use a knife to cut through them a bit. You really want to open up the roots so they can reach out into the soil more easily. (Don’t worry, you aren’t hurting it as much as you think you are.)
*** A pro-tip for when you are planting them into the ground, sprinkling some compost or organic fertilizer into the bottom of the hole and within the fill dirt will help give your plants a boost during the stressful transplanting stage. ***
10. Once all of your plants are firmly packed in the ground, it is time to water and protect the soil from the elements. Be sure to water your plants thoroughly once they have been transplanted. This is a very important step. Next, select your mulch of choice and be sure to put about a 2-3 inch layer to suppress the weeds and to limit the water evaporation. Then give everything another good watering. Here is a great article on the many different types of mulches to choose from. My recommendation is to use something that will decompose over time so that way it can continually add to the organic matter within the soil and will feed the worms, the fungi and the soil life within there.
11. From this point forward, you will be maintaining your garden. Be sure to keep it watered, but don’t over water it. Be sure to pull any weeds you may find pop up. Be sure to deadhead and prune any dead flowers or stems, as that will promote more flower and plant production. Be sure to keep an eye on any insect damage or diseases so you can catch it early. And if you are growing food, be sure to harvest the fruit at the proper time!
12. And finally, don’t forget to stop and smell the roses…or lillies…or honeysuckle…or lavender…what ever you have growing- stop and enjoy it. Bask in all the hard work and love you put into your garden. Admire the beautiful creations that are growing on your property. Connect back to nature and never loose sight of your “why.”
Of course, there is so much more that can be said about gardening. But I wanted to give you a place to start. A simple way to begin your journey into the gardening world. If you would like more in-depth information on gardening such as soil health, plant-specific care, annuals vs. perennials, composting and more, be sure to subscribe for more content!
Want to book an appointment with me for a free consultation? be sure to fill out the form that is found here.
If you would like to help support the Ecoculture movement, please check out our gift shop and donation page! (10% of all proceeds are donated to local churches.)
Thank you for your support, and I wish you many blessings on your gardening journey!
There is a Chinese proverb that says “The best time to plant a tree was 20 years ago. The second best time is now.” The message here is powerful, and can apply to gardening in general, as well- maybe not 20 years ago, but at least a few.
If you haven’t started a garden yet, don’t worry, it’s never too late. But if you’re reading this, then the time is NOW. There are so many types of gardens you could create, such as a woodland garden, a cottage garden, an edible garden, an ecological garden, a permaculture garden, an insectary garden, a rain garden…the list goes on! (I will get into different types in another post.) One of the best parts about designing a garden is that they can be scaled all the way down to a small backyard, urban garden, all the way to a couple of acres!
There are so many benefits to starting and maintaining a garden. They are the reasons why I am so passionate about it, and why I decided to dedicate my life to sharing that passion with my community.
Five benefits to gardening at home:
Gardening brings you closer to nature. It’s easy to forget that we wouldn’t be alive right now if it wasn’t for nature- for all the trees, the grass, the weeds, the moss, the mushrooms, and the entire biosphere. The earth is here for us to thrive on. When we start gardening in our own backyard, we are given more opportunities to go outside and remember this truth. To give gratitude toward it, in reverence and awe.
Growing your own food can teach you’re family how to be more self sufficient, in an ever growing uncertain society. You don’t need a 5 acre farm in order to grow food crops. You can start with just potted plants right in your front or back yard or even your porch. Then maybe you want to consider a raised bed. Then next year you may decide to add more to it. And so on and so forth. Starting small is the way to go. Ease into it and learn as you go. You also don’t need to be a professional in order to grow your own tomatoes, for example. All you need are the right conditions for it to grow well in- and then you let nature do all the work. With a couple of potted tomato plants, some lettuce, and a pot of cucumbers, you could be growing your own salads for the summer! Which can save your family money, and will know where some of your food is grown.
Growing fresh fruits and vegetables can help take your health back into your own hands. I know this from experience. I used to be about 85 pounds overweight by the time I was 18 years old. I tried all the different fad diets- from Weight Watchers to Herbalife. Everything was always a temporary fix and I would eventually gain the weight back soon after I stopped. I finally said enough was enough. I needed to change my entire lifestyle and I needed to pay more attention to the ingredients I was actually eating. With enough research, I figured out that the best way to be healthy was to eat fresh, organic, whole foods. A few years later I wanted to take it a step further, to really know where my food was coming from and how it was grown. It became so rewarding and joyful to grow my own produce. I have become the healthiest and happiest version of myself simply because I started caring about the source of my food and what I was truly putting into my body.
Gardening is therapeutic. Being outside in nature and nurturing and co-creating with it is a great way to relief stress. It can bring a sense of joy, accomplishment, pride and fulfillment into your life. It can be meditative and relaxing to go outside early in the morning with a hot cup of coffee or tea and just breathe in the fresh air and walk amongst the plant life as the flowers smile at you, both rising with the sun together, getting ready for your day ahead.
Gardens bring beauty to your home. Whether you have an ornamental or an edible garden, your plants will bring so much beauty to your home. Flowers are created with such beauty so they can attract all the pollinators by getting their attention with those flashy colors and shapes. They certainly get our attention too!
Gardens can become a classroom. I have learned a lot in books, in school and online, but I have learned the most in my garden- not just about growing plants, but about life. I have learned about patience and that each seed can be different in regards to how long it takes for it to grow, flower and fruit. (Much like people- our paths may be in different stages, but we are all on the same journey toward our fullest potential. So be patient with each other.) I have learned about being present in each moment, because you just might miss something. You may miss the hummingbird whiz by, or the bumble bee fast asleep inside a flower, covered in pollen from his bottom to his feet. So much can be missed throughout our days, all found within the details of our conversations, our commutes, our thoughts, our emotions and even our actions.
Borage- an annual herb also known as starflower. It is in the family Boraginaceae. Smells and slightly tastes like cucumber. Flowers are edible.
This is your invitation to get started.
If your haven’t started a garden yet, I invite you today to try it out. Start small and learn as you go. It’s okay if you make mistakes- its part of the process! Trial and error have been my best friends throughout my journey. I still experiment and I still learn more and more every single day I am working or admiring my gardens.
If you are ready to get started, be sure to check out my other post “What you Need And Need to Know to Get Your Garden Started”for all the details on some important things to consider before you hit the ground running, and some practical step-by-step instructions on how to start a garden from scratch.
I wish you many blessings on your gardening endeavors, and I hope you reach out if you have any questions or concerns. And if you would like to book an appointment with me for a free gardening consultation for basic consulting, design work, installation, or maintenance membership.